
How to make chair pockets for classroom
how to make chair pockets for classroom
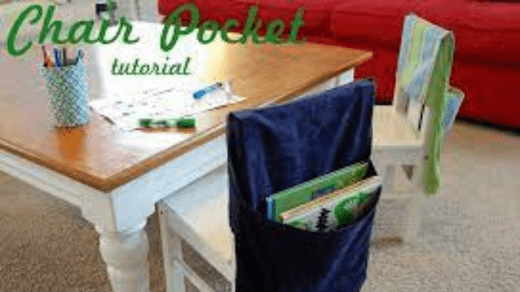
Chair pockets are useful additions to classroom chairs, providing students with a convenient place to store books, notebooks, and supplies. Here’s how you can make chair pockets for classroom chairs:
Materials You’ll Need:
- Fabric (preferably sturdy and durable, like canvas or denim)
- Sewing machine or needle and thread
- Scissors
- Measuring tape
- Velcro strips or buttons (for closures)
- Iron and ironing board
- Pins
Instructions:
1. Measure Your Chairs:
- Start by measuring the width and height of the backrest of the classroom chairs where you want to attach the chair pockets. Measure from the top of the chair back down to where you’d like the chair pocket to end.
2. Cut the Fabric:
- Cut your fabric into rectangles based on the measurements you took in step 1. You’ll need two rectangles for each chair pocket, one for the front and one for the back.
3. Hem the Edges:
- On each fabric rectangle, fold and press a small hem along the top edge (the edge that will be at the top of the chair pocket). Use your iron and ironing board to create a clean edge. Then, stitch the hem in place using a sewing machine or by hand.
4. Sew the Front and Back Together:
- Place the two fabric rectangles (front and back) with their right sides facing each other.
- Sew along the sides and bottom of the fabric, leaving the top (hemmed) edge open. Use a 14 to 12-inch seam allowance.
- If you’d like to reinforce the corners, sew across them diagonally before trimming the excess fabric.
5. Turn the Pocket Right-Side Out:
- Carefully turn the pocket right-side out, making sure the seams are on the inside. You should now have a rectangular pocket with a clean, finished top edge.
6. Attach Velcro or Buttons:
- To create a closure for the pocket, you can attach Velcro strips or buttons. For Velcro, sew one side of the Velcro to the inside of the top edge of the pocket and the corresponding side to the chair back. Make sure they align correctly for a secure closure.
- If using buttons, sew a button to the inside of the top edge of the pocket and attach a corresponding buttonhole to the chair back.
7. Secure the Chair Pocket:
- Slip the chair pocket over the top of the classroom chair’s backrest. The hemmed top edge should rest on the top of the chair.
8. Fill and Use:
- Your chair pocket is ready for use. Students can now store books, notebooks, or other classroom supplies conveniently within reach.
9. Repeat for Additional Chair Pockets:
- Repeat the process for as many chair pockets as needed for your classroom chairs.
Custom-made chair pockets are a practical addition to any classroom, helping students stay organized and keeping essential supplies readily accessible. You can choose fabric colors and patterns that match your classroom decor or preferences.